Quickstart
ILW Light Mapper works in two steps. This whole guide is organized around them.
| What you do | Where you end up | |
|---|---|---|
| Step 1: Align | Choose your art, then drag its corners until it fits your surface exactly | Your art lines up with the wall, window or object |
| Step 2: Refine | Mask, warp, color and play it, then save | A finished projection you can save, reopen and cast |
You can go back to Step 1 from Step 2 at any time.
Step 1: Align
Section titled “Step 1: Align”Get your art onto the surface, in the right place.
- On the Main menu, tap NEW PROJECT.
- Choose your art. Tap a thumbnail on the VIDEOS tab, then Download if needed, then SELECT. You can also use MY IMPORTS, SHADERS and ONLINE. See Choose artwork.
- Fit it to your surface. Four round pins appear at the corners of your art. Drag each pin to the matching corner of your wall, window or object.
- Want more than one picture? Tap + GRID to add another layer. Tap CHANGE ART to give it its own video.
- When it fits, tap SAVE + CONTINUE to move on to Step 2.
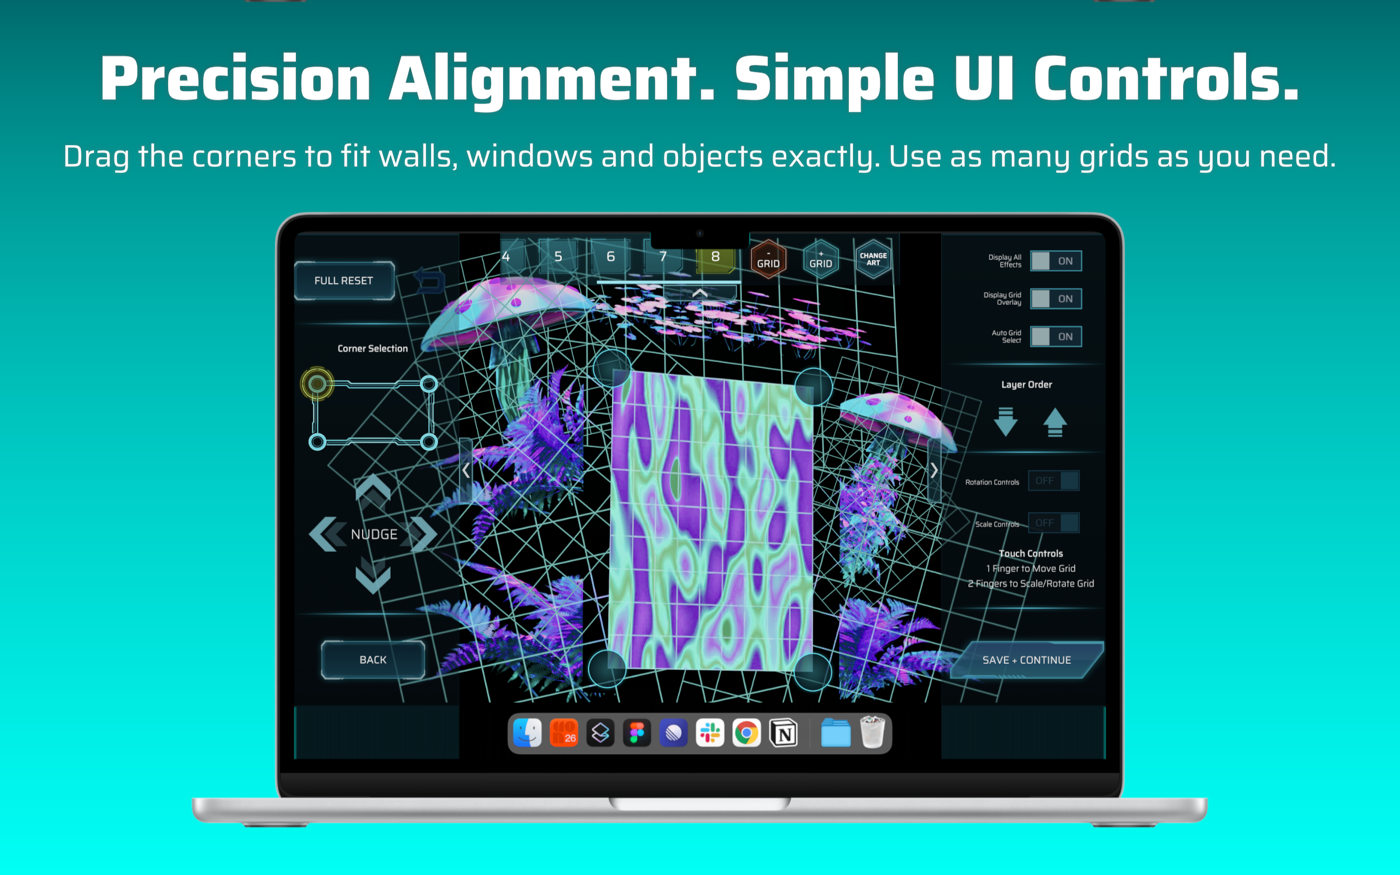
More detail: Align your grids.
Step 2: Refine
Section titled “Step 2: Refine”Now shape it and make it look the way you want.
- Pick a tool from the TOOLS list on the right:
- Mask: show the art only inside shapes you choose.
- Warp Paint: paint a warp so the art follows curves and bumps.
- Color: change hue, saturation, brightness or tint.
- Background Key: make a color, such as black, transparent.
- Audio and Shader for sound and live visuals.
- Use the playback bar along the bottom to play, pause and scrub.
- Tap HIDE CONTROLS to see only your projection. Tap anywhere to bring the controls back.
- Tap SAVE PROJECT.
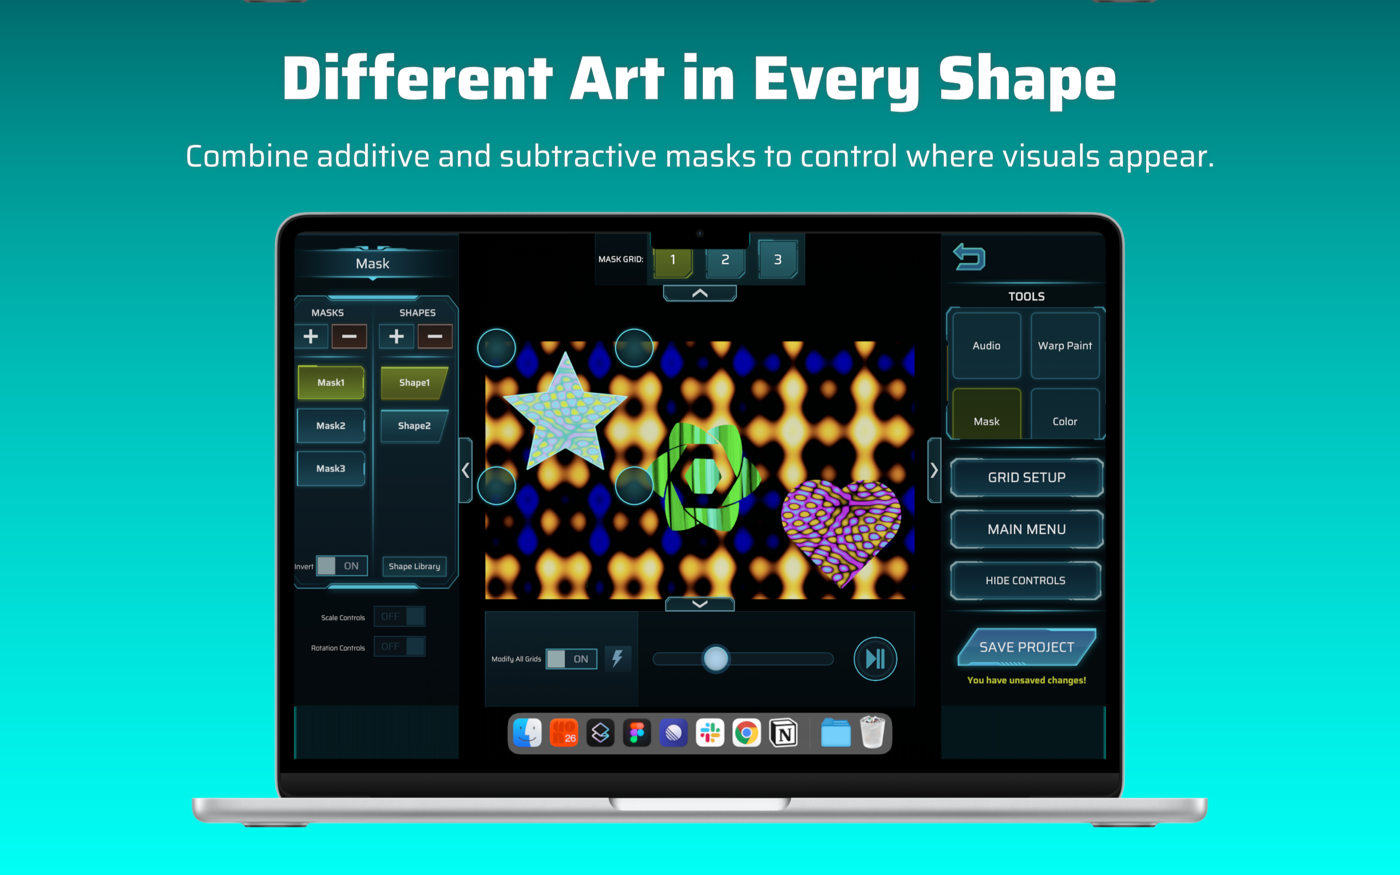
More detail: Step 2 overview.
- Reopen your work: Saving and opening projects
- Send it to a projector or TV: Casting to a screen
- Understand the terms: Key ideas
- Something not working? Troubleshooting
- All the long presses and gestures: Gestures and shortcuts